What Loose Handlebars Actually Feel Like
Loose handlebar diagnosis has gotten complicated with all the conflicting advice flying around. As someone who spent three years wrenching at a local co-op, I learned everything there is to know about this particular headache. Today, I will share it all with you.
Loose bars show up in two completely different ways — and mixing them up costs you time.
The first is rotational play. You’re climbing hard or sprinting, load shifts through the bars, and they twist inside the stem clamp. Feels like the grips want to spin under your palms. Sometimes there’s a small creak involved. That’s a stem bolt problem.
The second is front-end wobble — or a dull clunk every time you roll over a crack. The whole fork seems to move on its own, independent of the bars. Rock the bike front to back and you’ll feel a distinct knock somewhere around the head tube. That’s headset play. Completely different animal.
Most riders feel one of these and go straight for the handlebars. They’re usually wrong. The shake test below fixes that.
Do This Shake Test Before You Grab a Wrench
Put the bike in a stand, or have someone hold it. You need both hands free for this.
Step 1 — Check for headset play
Squeeze the front brake hard. Now rock the entire bike forward and backward using your body weight — not arm strength. Feel what travels up through the stem into your hands. Knocking? Clunking? Does the fork seem to shift while the bars stay put? If yes, the headset is loose. If no, move to step two.
Step 2 — Check for stem clamp looseness
Release the brake. One hand flat on the top tube to stabilize things. With your other hand, grip the bars and try rotating them left and right inside the stem. They should not budge. Even a quarter-inch of rotation means the stem bolts need attention. Bars rotating freely? Stem is your culprit. Bars locked solid but you still felt that knock in step one? You’ve got a headset issue.
Write down which test failed. That’s your answer. Probably should have opened with this section, honestly — it saves most riders twenty minutes of frustrated guessing.
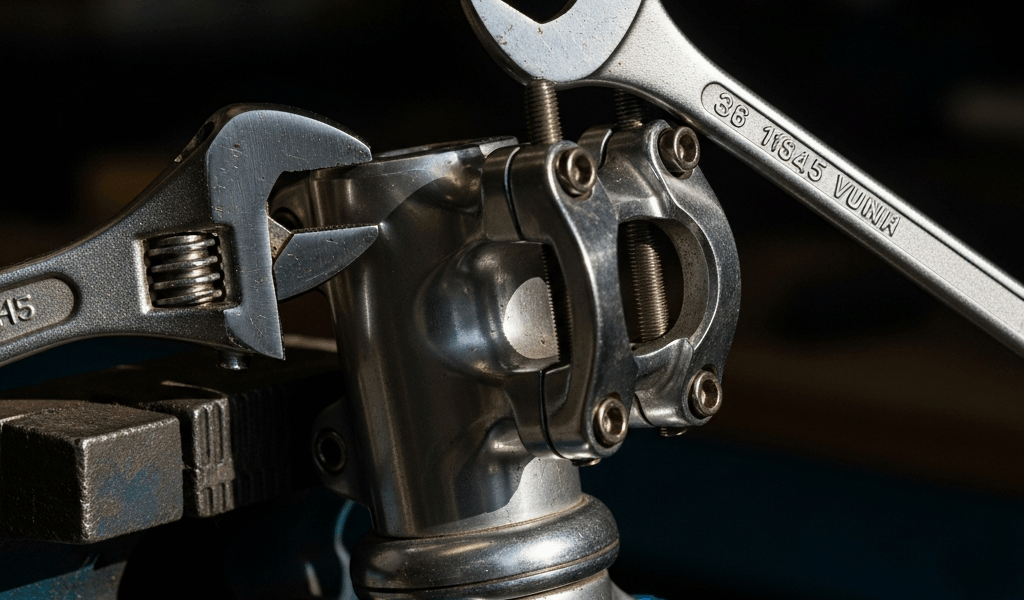
How to Tighten a Loose Stem Clamp
Stems come in two flavors: threadless (modern, covers roughly 90 percent of bikes on the road today) and quill (older bikes, increasingly rare). They tighten differently, so figure out which one you’re dealing with before reaching for a tool.
Threadless stems
Grab a 4mm or 5mm hex key. Aluminum bars almost always use 5mm bolts; carbon bars sometimes drop down to 4mm. Check the faceplate before you start.
Most faceplates have four bolts — two on top, two on the bottom. Sequence matters here. Start top-left, a quarter turn. Top-right, a quarter turn. Bottom-left, quarter turn. Bottom-right, quarter turn. Repeat until snug.
Why bother alternating? Uneven pressure warps the faceplate. I watched a $300 carbon bar snap because someone cranked one side bolt all the way down and never touched the other. Ninety seconds done right versus a bar that’s done forever. Don’t make my mistake.
Target torque sits between 5 and 6 Newton-meters for aluminum bars. Torque wrench is ideal — a Park Tool TW-5.2 runs around $35 and is worth every cent. No torque wrench? “Snug with hand pressure plus a quarter turn” gets you close enough on aluminum. Carbon bars are a different story. Stop the moment you feel resistance. Carbon doesn’t forgive.
Run the rotation test again after tightening. Bars should be completely locked.
Quill stems (brief note)
Quill stems use a wedge bolt that pulls a wedge tight inside the fork steerer. Loosen the top bolt slightly, tap it gently with a hammer to free the wedge, then tighten the wedge bolt — usually 8mm or 10mm — another quarter turn. Less common these days, but if your bike pre-dates 2005, you probably have one sitting under that stem cap.
How to Fix Headset Play at Home
But what is headset preload? In essence, it’s the amount of pressure pushing your bearings together inside the head tube. But it’s much more than that — get it wrong in either direction and you’ll either grind your bearings to dust or feel that maddening clunk on every bump.
Threadless headsets have two adjustment points: the top cap preload bolt up top, and the stem clamp bolts just below it. They do different jobs and need to be adjusted in the right order.
The adjustment sequence
Loosen the stem bolts slightly — just enough that the bars can shift a little inside the head tube. Not all the way out. Just lose the lockdown. A 4mm or 5mm hex key handles this depending on your stem model.
Find the top cap bolt. It sits dead center on top of the stem, usually 4mm or 5mm. Turn it clockwise in quarter-turn increments. After each quarter turn, run the shake test again: brake squeezed, rock forward and back. You’re hunting for the exact point where the knocking disappears but the bars still spin smoothly — no grinding, no stiffness.
That’s the sweet spot. Too tight and the bars feel stiff. Too loose and the clunking comes back.
Once you’re there, hold the top cap bolt position and tighten the stem bolts back down to lock that preload in place. Alternate side to side, same as before. Test again. Play should be completely gone, bars rotating clean.
One thing worth knowing: loose stem clamp bolts can mimic headset play almost perfectly. That’s exactly why the shake test and stem tightening come first. I’m apparently the type who learns this the hard way — spent twenty minutes adjusting a headset three separate times on a customer’s Trek before realizing the stem bolts had been half-loose the whole time. That was embarrassing.
When the Problem Comes Back After You Fix It
Recurring looseness points to three specific underlying issues. That’s what makes this problem endearing to us amateur mechanics — it keeps you honest.
Worn headset bearings. Adjusted the top cap and it held for maybe a week? The bearings are cooked and need replacing. A full headset overhaul runs $40 to $80 in parts — Chris King, Cane Creek, or even a generic sealed bearing set — and takes about an hour on the stand. Worth every minute on any bike you actually ride.
Stripped stem bolts. Bolts tighten fine, then walk themselves loose under vibration. Either the threads are stripped or the stem clamp face is damaged. Replacement stem bolts run $3 to $8 at any shop. If stripping keeps happening on the same bolts, the stem itself needs replacing. Most solid replacement stems — Ritchey, Thomson, Kalloy — fall between $35 and $120 depending on material.
Mismatched bar-to-stem diameter. Some bars simply don’t fit the stem clamp correctly. Classic example: 31.8mm bars crammed into a 25.4mm clamp. Shims exist for small gaps and actually work fine. Major mismatches won’t hold no matter how hard you torque those bolts. Check your bar diameter and stem clamp spec before buying anything — it’s stamped right on most stems.
So, without further ado — or rather, with very little left to add — most loose handlebar situations resolve in under ten minutes once you know whether you’re dealing with a stem issue or a headset issue. The shake test gets you there. Do that first, tighten the right part, and you’re rolling.


Stay in the loop
Get the latest cycling gear galaxy updates delivered to your inbox.