The Bike Tools That Actually Earn Their Spot in Your Garage
Bike repair tools have gotten complicated with all the specialty items and “essential” kits flying around. As someone who started with a crescent wrench and a YouTube video—and slowly built a proper workshop over years of trial and error—I learned everything there is to know about which tools actually matter. Today, I will share it all with you.
Here’s the thing about bike tools: you can spend $500 on a complete toolkit and still be missing the one thing you need at 9pm on a Sunday night before a Monday group ride. Or you can buy smart, start with basics, and add tools as problems arise. The second approach costs less and means every tool in your box has proven its worth through actual use.
1. Park Tool Bike Repair Stand – The Foundation of Everything
That’s what makes a repair stand endearing to us home mechanics—it transforms every other task from frustrating to manageable. Before I had a stand, I’d flip my bike upside down on the handlebars and saddle, crouch on the garage floor, and somehow get chain grease on my ceiling. I’d strain my back reaching for pedals, knock the bike over adjusting brakes, and spend more time stabilizing the thing than actually working on it. It was ridiculous.
A proper stand holds your bike at working height. You can spin the cranks freely to check shifting. The wheels rotate without obstruction for truing. You can walk around the bike, see what you’re doing, and actually reach bolts without yoga poses. Every single maintenance task gets easier once the bike is properly suspended at chest height.
What makes the Park Tool stand worth the money:
- Holds bikes at comfortable height—no more floor crouching or back strain
- Full 360-degree rotation to access every angle of the frame
- Quick-release clamp that grips securely without scratching frames
- Folds flat for storage against a wall when not in use
- Rock-solid stability even with heavy e-bikes or mountain bikes
- Same design used in professional bike shops worldwide
Probably should have led with this section, honestly. If you’re going to do any home maintenance beyond pumping tires, a repair stand is the single best investment you can make. Everything else becomes easier once you’re not fighting gravity and awkward positions. Cleaning the drivetrain takes half the time. Brake adjustments that used to frustrate you become routine. Cable changes go from nightmare to normal weekend task.
Price: $200-$250 (lasts decades with literally zero maintenance)
2. Topeak Multi-Tool – The Roadside Rescue Kit
Picture this: you’re 15 miles from home on a beautiful Saturday morning. Your derailleur hanger is bent from hitting a pothole. Your saddle has slipped two inches mid-ride and you can’t pedal comfortably. A bottle cage bolt rattled loose somewhere and your water bottle is gone. Without a multi-tool, you’re calling for a ride and ending a great day early. With one, you’re back rolling in five minutes.
The Topeak Alien series packs everything you’d reasonably need into something that fits in a jersey pocket or saddle bag. I’ve carried mine on every single ride for years now. It’s saved me from walks of shame more times than I want to admit—bent hangers, loose headsets, slipping seatposts, random bolts that worked loose from vibration.
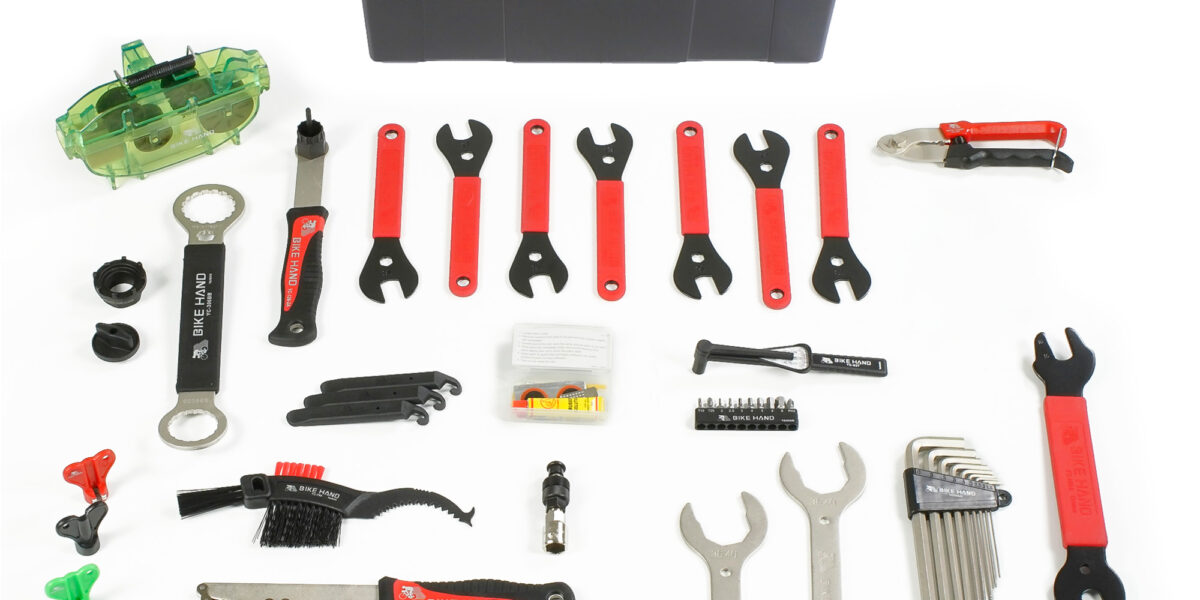
What’s actually included in a quality multi-tool:
- Hex keys in every size you’ll ever need (2mm through 8mm covers everything)
- Torx wrenches for those annoying brake rotor bolts and some newer components
- Chain tool for emergency field repairs when a link fails
- Spoke wrenches in multiple sizes for quick truing adjustments
- Phillips and flathead screwdrivers for older components
- Tire levers built right into the body for flat repairs
The build quality matters enormously here. Cheap multi-tools from no-name brands have soft metal that strips bolt heads, levers that bend under pressure, and chain tools that break the first time you need them. Topeak, Crank Brothers, Lezyne, and similar quality brands use hardened steel throughout. They feel solid because they are solid. When you’re roadside with a broken chain and your phone is at 10% battery, that’s when you appreciate paying an extra $20 for quality.
Price: $35-$50 depending on model and feature set
Other Tools Worth Adding Over Time
Floor pump with pressure gauge: The $40 ones from Lezyne or Topeak last for years of daily use. Check pressure before every ride—it takes ten seconds and prevents pinch flats. The gauge matters; guessing tire pressure is how you get flats or harsh rides.
Chain wear checker: Ten bucks, maybe less. Shows you when your chain is stretched beyond 0.5% or 0.75% wear before it destroys your cassette. Replacing a $15 chain at the right time beats replacing a $80 cassette because you waited too long.
Torque wrench: Carbon fiber parts need precise tightening—too loose and they slip, too tight and they crack. Modern aluminum handlebars, stems, and seatposts also have specific torque requirements. A basic torque wrench runs $30-50 and prevents cracked components, warranty claims, and the horrible sound of carbon failing.
Proper hex keys: The multi-tool handles roadside fixes, but for home work, full-size L-shaped hex keys give you leverage and won’t round out bolt heads. Park Tool or Bondhus sets cost $20-30 and last literally forever. The ball-end versions let you work at angles.
Chain lube and degreaser: Not tools exactly, but you’ll use them constantly if you maintain your own bike. Finish Line, Squirt, Rock N Roll, whatever—pick one and use it regularly. A clean, lubed chain shifts better, lasts longer, and doesn’t destroy your cassette.
Building Your Toolkit Strategically
Start with what you need immediately. Floor pump and multi-tool are day one purchases—every cyclist needs these before the first ride. A repair stand comes when you start doing real maintenance like adjusting brakes, replacing cables, cleaning drivetrains properly. Specialty tools come as specific projects demand them.
You don’t need a bottom bracket tool until you need a bottom bracket tool. Same with cassette lockrings, chain whips, headset presses, cable cutters, and bleed kits. Buy as needs arise. Those needs will definitely arise if you ride enough, but there’s no point buying a cable cutter before you’ve ever replaced a cable. You’ll end up with dusty tools you forgot you owned.
One Tool Philosophy That Actually Works
Every tool should earn its place in your workshop. If you bought something two years ago and haven’t touched it, maybe it wasn’t essential after all. But if you keep reaching for the same hex key, the same chain lube, the same tire levers week after week—those are your real toolkit. Pay attention to what you actually use, and upgrade those specific items when they wear out or frustrate you.
Quality matters most for tools you use often. The floor pump you use twice a week for years deserves to be good. The cassette lockring tool you use twice a year can be the cheap one. Allocate your budget accordingly and you’ll end up with a thoughtful, functional workshop instead of drawers full of mediocre junk.
As an Amazon Associate, I earn from qualifying purchases. I only recommend tools I actually own and use in my own garage workshop.