My Tubeless Journey: Why I Never Go Back to Tubes
Look, I resisted tubeless for way too long. My riding buddy Dave kept telling me I was being stubborn, and honestly? He was right. After my third flat in two weeks last spring—one of which left me walking three miles home in cleats—I finally caved and made the switch.
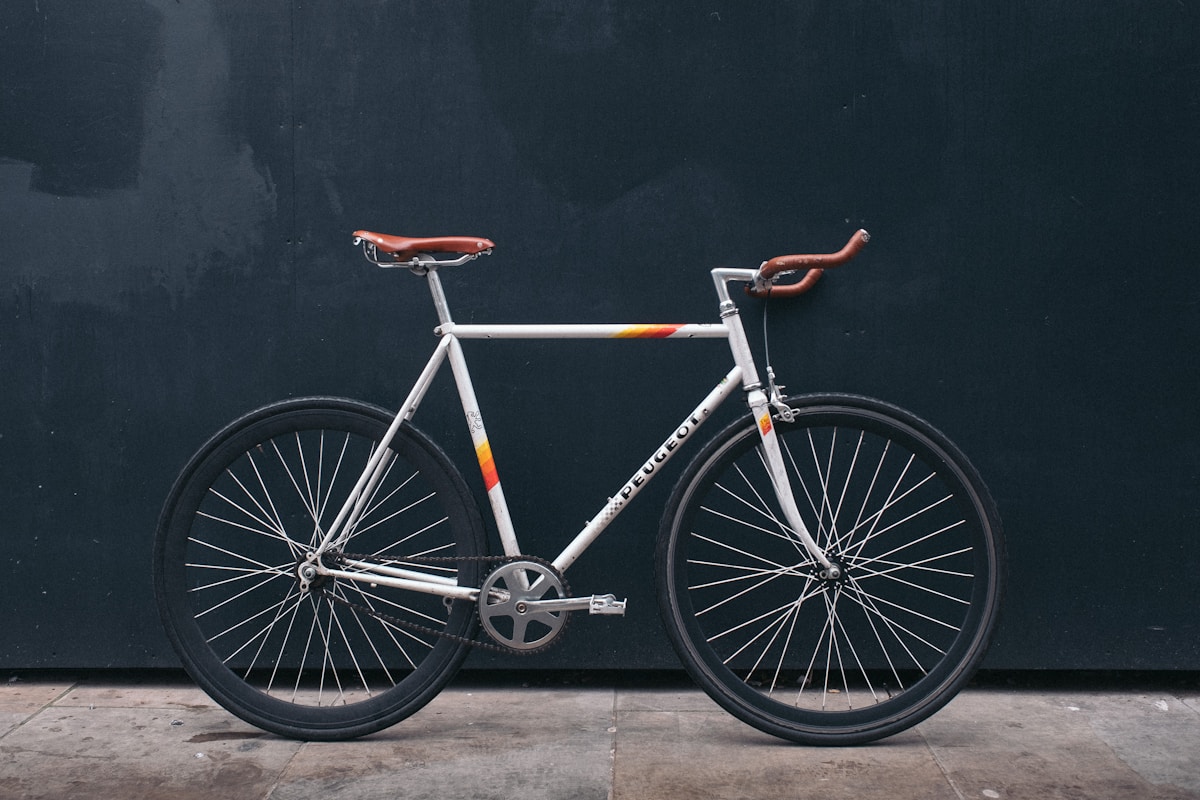
Best decision I have made for my bike in years. Here is what I have learned after running tubeless for about eighteen months now.
What Even Is Tubeless, and Why Did I Resist?
So tubeless is exactly what it sounds like—no inner tube. The tire seals directly against the rim, and you put this goopy sealant inside that plugs up small holes before you even notice them.
I will be honest about why I avoided it: the whole thing seemed like a hassle. Sealant getting everywhere, special rims, the dreaded tire explosion stories I had heard. My local shop guy made it sound complicated, and I am not exactly a mechanical genius. I once put my chain on backwards. Do not ask.
But after that last walk of shame, I watched about twelve YouTube videos and decided to give it a shot.
The Good Stuff (And It Is Really Good)
Flats are basically a non-issue now. I have ridden through goathead territory, over broken glass, and hit more thorns than I can count. The sealant just… handles it. I watched a tiny stream of white goo shoot out of my tire once, seal itself up, and kept riding. Felt like magic, honestly.
I can run lower pressure. This was the game-changer I did not expect. I dropped from 90 psi to around 70 on my gravel bike, and suddenly rough roads do not beat me up as much. My hands do not go numb on long rides anymore. With tubes, going that low would have meant pinch flats every other ride.
Slightly lighter bike. I mean, it is not like I am racing, but every little bit helps when you are hauling yourself up a hill. Losing the tubes drops a few ounces per wheel.
The Messy Reality of Setup
Okay, my first tubeless installation was a disaster. I will save you some pain.
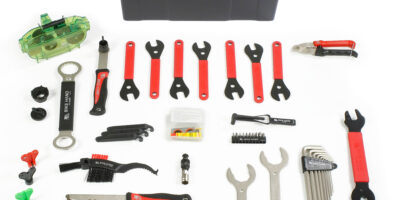
I tried seating the bead with a regular floor pump. Twenty minutes of pumping, sweating, swearing. Tire just sat there mocking me. Turns out you really do need either an air compressor or one of those tubeless inflator tanks. I bought a cheap one online for thirty bucks and the tire popped on immediately. Should have done that first.
The sealant went everywhere during my first attempt—ceiling, floor, my dog. Get a syringe injector that goes through the valve core. Way cleaner. I learned this the hard way.
You will also need tubeless tape for the rim if yours does not come pre-taped. I used Gorilla tape at first because someone on Reddit said it worked. It does, kinda, but actual tubeless tape is better. Spent an extra ten bucks and stopped having slow leaks.
Maintenance Is Not Hard, But Do Not Skip It
Here is my routine: I check the sealant every two or three months. It dries up, especially in summer. I just pop the tire off one side, pour out the old crusty stuff, add fresh sealant. Takes maybe fifteen minutes once you have done it a couple times.
Pro tip from my own screw-ups: shake your wheels side to side before rides if they have been sitting for a while. Keeps the sealant coating the inside evenly. I had a slow leak once because all the sealant had pooled at the bottom of my tire from sitting in the garage for two weeks.
What to Do When the Sealant Cannot Handle It
Sealant is amazing but not invincible. I slashed my sidewall on a sharp rock last fall—sealant could not touch it, just kept spraying out like a tiny white fountain.
This is why I always carry a plug kit and a spare tube. The plug kit is basically just rubber worms and a poking tool. Shove a worm in the hole, pump it up, and you are usually good to limp home. For bigger damage, I just throw in a tube like the old days and deal with the tubeless setup later at home.
Honestly, even with that one bad puncture, I have had way less roadside problems than when I ran tubes.
Should You Make the Switch?
If you ride on anything other than perfect pavement—gravel, trails, or just roads with debris—I would say absolutely yes. The peace of mind alone is worth the initial setup hassle.
For pure road riding on clean streets, the benefits are smaller but still there. Lower pressure and better ride feel still apply. My road bike buddy converted last year and loves it.
The upfront cost stings a bit. You will need tubeless-ready rims, compatible tires, sealant, tape, and valves. Figure maybe 100-150 dollars if you are starting from scratch, less if your wheels are already tubeless-compatible. After that, it is just sealant every few months—like eight bucks.
My Bottom Line
I spent years thinking tubeless was unnecessary and complicated. Turns out it is neither. Once you get through the first setup, it is actually less maintenance than constantly dealing with flats and tube changes.
Dave still gives me crap for taking so long to switch. Fair enough. If you are on the fence like I was, just do it. Future you will be grateful when you are rolling past that patch of thorns instead of calling for a ride home.